Wireless printing is the ultimate convenience that every workplace should have. However, like any piece of technology, it might be a little confusing at first, especially if you just got a brand-new Canon printer. You don’t have to worry if it will be your first time using a wireless printer, as there are multiple ways to connect your Canon printer to the WiFi.
There are three main options for connecting your Canon printer to WiFi:
- Using a smart device through the Canon Print Inkjet app
- Using a WPS Push Button Method
- Using a WPS Pin Code

You have the option to choose what method will work best for you. Although convenient, it is not a fail-proof method and may require you to try multiple times to connect depending on the circumstances.
Most importantly, before you begin, make sure that your printer is plugged in, and your WiFi router is working appropriately.
Option 1: Using a Smart Device
It is necessary to have a wireless device like your phone or laptop using this method.
If you are using a computer, make sure to download a software installer first to connect your computer to your printer via wireless network information.
For phones, you must download an app to connect to your printer. For example, Android devices use the Canon Print Inkjet app, while iOS devices use an app called SELPHY.
Once you have your app or software is set up, you can follow these steps to start printing:
- Turn on your device’s WiFi
- Select your printer’s SSID
- Input password
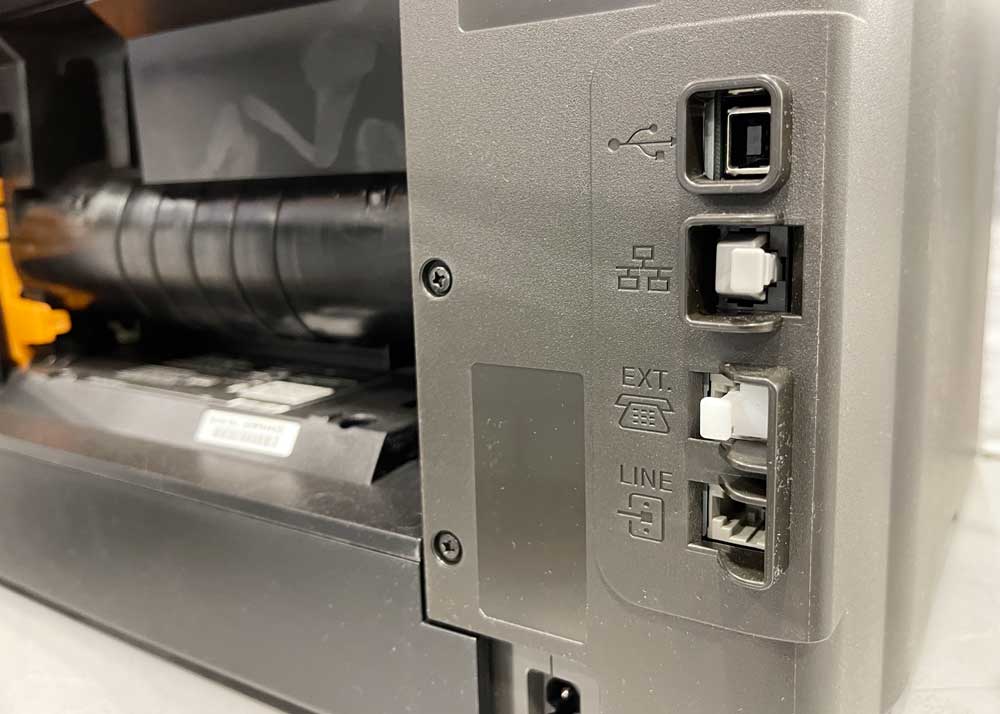
The default password is your printer’s serial number. You can find it on a sticker attached to the back of the printer and is made up of 9 alphanumeric characters (four alphabets and five digits).
You need to make additional settings on your apps to connect to your printer.
Once you’ve installed SELPHY and the Canon Print Inkjet app on an Android device, access the setting screen on SELPHY and select the Connection Settings Option.
Next, choose the name of your printer and choose the Direct Connection option to connect with a simplified access point.
You’ll love this wireless connectivity, especially for scanning with your Canon printer.
Option 2: Using WPS Push Button Method
There is a WPS Push Button for some routers that you can use to sync the wireless printer.
Although not all routers have this option, it is an easier and faster way to connect to your printer wirelessly.
Here is how to connect your Canon printer to WiFi using the WPS button:
- First, make sure your printer is turned on.
- Next, find the WiFi button on your printer. Press and hold until the light flashes three times.
- Press the WPS button once the light flashes while the power light is on.
- The sync is successful when the power button is lit simultaneously as the WiFi indicator.
If the sync fails, press the stop button and repeat step 1.
Remember to have your printer and wireless device connected to the same network. For example, a Canon printer can be connected to up to 5 devices simultaneously.
This method may not be an available option for some routers, so it would be better to check your router first, as a WPS sync is an easier option when setting up your wireless printer.
Option 3: Using a WPS Pin Code
This method may be the hardest, but it is an available option when the first two methods fail.
To connect to your printer using a WPS Pin Code, follow these steps:
- Load two sheets of letter-size papers.
- Make sure that the printer’s power is turned on.
- Hold the WiFi button until you notice the power light flashing.
- Press the WiFi button again.
- The printer will print out the information you need to set up your wireless printing, which will include your WPS Pin Code.
- Press and hold stop on the printer until the alarm light blinks sixteen times. Release the stop button after the sixteenth blink. Your printer is now prepared to connect wirelessly.
- Using a wireless device like your phone or computer, access your router’s internal settings. Enter the WPS Pin code to sync your network and printer.
You should be able to know that you’ve successfully made a connection when the WiFi light on your printer is on.
If this will be your first time attempting to connect a Canon printer to WiFi, it is understandable if you don’t successfully connect the first time.
You can always try another method when one doesn’t work for you.
When You Can’t Connect to Your Printer Successfully
When you’ve tried the methods above and still can’t make a successful connection to your Canon printer, it can be traced to various causes.
Some problems can be:
- You might be having internet issues. For example, when the connection between your network and printer is lost, it might be because you might have no or slow internet connection. Restart your WiFi router and printer when this problem occurs and try syncing them again.
- The printer is not on. A happy accident that can happen to anyone is forgetting to turn on the device. Before setting up, make sure that your printer is securely plugged in and on the power light.
- Use the same network. Another common mistake is connecting your device to a different network, such as your printer. This happens when a wireless router has two networks or various WiFi networks in the vicinity. Make sure you select the same network for your device and your Canon printer.
If you are consistently encountering issues with connecting to your printer, you can contact Canon’s technical support to help you fix your issues.
The problems may be caused by your printer’s hardware that needs repair or replacement.
Here are 8 Ways to Fix a Printer in Error State.

Once connected to your WiFi network, you’ll be able to add your Canon printer to your Mac. Here’s how to connect your printer to WiFi.
Quick Troubleshooting Options for Connectivity Issues with Your Wireless Printer
Before you call tech support for help, there might be some remedies that you can do to save time and money.
For example, when your device keeps disconnecting to your printer or is not syncing correctly, then you can try the following remedies to solve the issues:
- Move your printer near your WiFi router. Your printer’s location shouldn’t be far and remove any interferences that could be blocking the WiFi signal.
- Reset your default connections, especially when you’ve recently done software updates on your device.
- Check the printer’s toner and paper. Sometimes, there may be errors in printing that may cause backlogs in the printing line.
- Try a different device when connecting to the printer.
- Try using the USB connection.
Don’t be alarmed if you’ve put much effort into connecting and the connection ends up failing. There are many ways to remedy this problem, and you only need some patience to get it to work.
Here’s how to find your printer’s IP address.
There are also video tutorials on the internet that can help you identify what you may have been doing wrong or missing in the instructions. Just remember to follow each step to avoid running into any problems carefully.
The Canon tech support lines are always open to answer any questions that you may have regarding your printer. However, you can contact them if you run out of options.
More reading: How to Get Printer Ink off Your Hands.
Here are 3 ways to connect a Canon printer to your laptop.
Bryan Haines is a co-founder and writer on PrintLikeThis. We troubleshoot printer problems to get you back to printing.
He also writes at Storyteller Tech and is a travel blogger at Storyteller.Travel. Bryan is co-founder of Storyteller Media, a company he started with his wife, Dena.