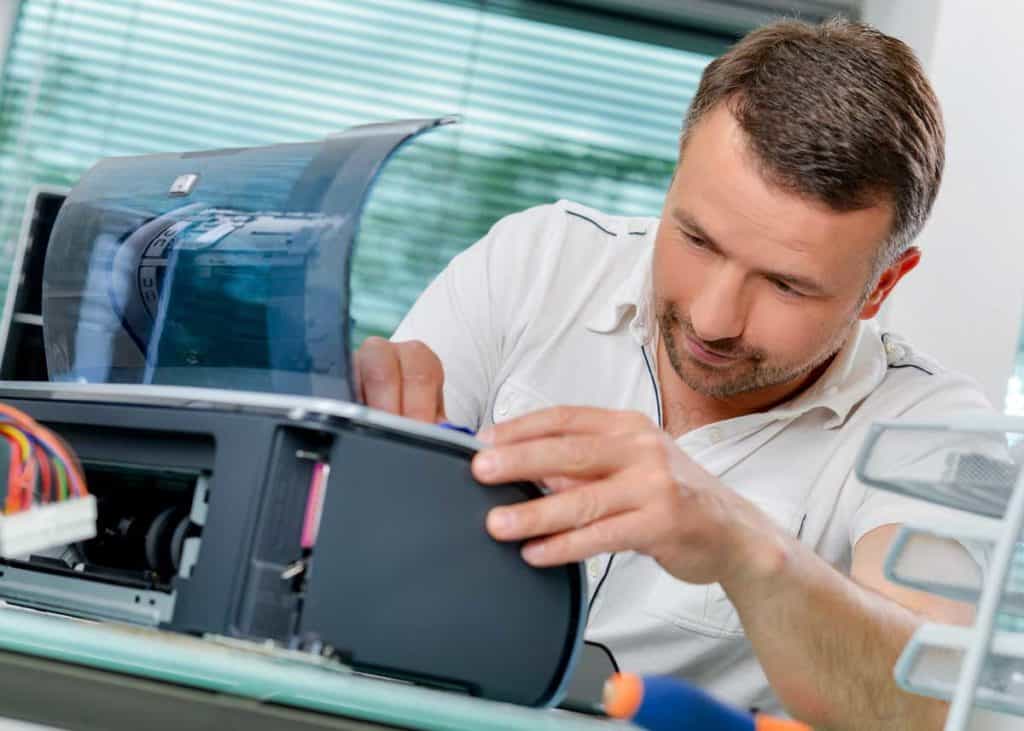
If you need to clean Canon print head to improve the quality of your prints, you have three options: a quick cleaning, deep cleaning, or physically removing the print head and cleaning it.
The sections below give you the precise steps to take when cleaning your Canon print head, so try these methods if your prints come out wonky.

1. Quick Cleaning Method
The quick cleaning method is also the standard cleaning method. You can perform this cleaning process once or twice a year if you desire.
However, Canon does not recommend cleaning your print head unless something is wrong with the quality of your prints. If your prints appear faded, smudged, or otherwise, low-quality, try performing the standard cleaning Canon print head steps detailed below.
9 Steps: Quick Clean Your Canon Print Head
- On your computer, establish a connection with the printer you want to clean.
- Open the printer driver setup window.
- Select the Cleaning option under the Maintenance tab.
- The Print Head Cleaning window will pop open. Select the ink group you want to be cleaned.
- After making the desired selection, click Initial Check Items. This will display items you need to assess before cleaning, like a pre-maintenance checklist. The checklist usually concerns competing open jobs or removing unnecessary pages from the printer.
- Double-check that the printer is powered on. Click Execute on the Print Head Cleaning window open on your computer. The cleaning Canon print head process will begin.
- After the cleaning, a Nozzle Check dialog box will open following a confirmation message. But you don’t have to do anything on this page.
- Check if the print quality has improved after the cleaning. In the same Print Head Cleaning window, click on Print Check Pattern.
- A configuration page will print. Assess the print quality. If it has not improved, you can repeat this process once more.
Do not perform this cleaning method more than twice.
The second time may make a difference, but if the print quality does not improve after two standard cleanings, a third will not make a difference.
2. Deep Cleaning Method
If you performed the steps above twice and your print quality is still poor, you should perform deep cleaning. Deep cleaning uses more ink, and will more thoroughly remove old ink and gunk off your print head.
You should only perform deep cleanings when your print quality is poor, as it’s not part of routine printer maintenance.
Below are the steps to follow to perform a deep cleaning on your Canon print head.
8 Steps: Deep Clean Your Canon Print Head
- Connect to your printer on your computer and open the printer driver setup window.
- Navigate to the Maintenance tab and click on Deep Cleaning.
- A new window will open. Choose the ink group you want to have deep cleaned.
- Click Initial Check Items and complete the list. If you already did this during the quick cleaning method, you don’t have to do it again unless you undid anything.
- Check that the printer is powered on. Click Execute in the Deep Cleaning window. A confirmation message will appear; click OK on it. The print head deep cleaning process will begin.
- The Nozzle Check dialog box will appear, but you can ignore it or close it.
- The deep cleaning process will take longer and use more ink than the quick cleaning process. Once finished, click Print Check Pattern.
- Assess the newly-printed configuration page for print quality. If quality has not improved, turn off the Canon printer for 24 hours and then try the deep cleaning process one more time.
If the print quality is still poor, your print head may be worn and need replacing. You can also try swapping out ink cartridges in case one malfunctions.
Here are four steps to changing ink in your Canon printer.
3. How to Clean Canon Printhead (Video Tutorial)
If the automated print head cleaning didn’t work for you, you might consider this next step.
This will require you to remove the print head from your printer and physically clean it.
This method requires both more skill and more risk. If you aren’t careful, you could damage the printer or the print head. And water doesn’t play nice with electronics so make sure to keep those dry during the process.
Here’s how to do it.
Still having trouble? Here are 8 Reasons Your Canon Printer Isn’t Printing
Here’s how to fix your offline Canon printer.
Final Note
Cleaning the print head using either method will consume a small amount of ink. While the amount of ink wasted is small, if you clean your print head often, your ink supply will deplete unnec
Only perform print head cleaning when necessary, like if prints are coming out smudged or messy. But now you know how to clean the Canon print head on your printer!
Dena Haines is a co-founder and writer on PrintLikeThis. We troubleshoot printer problems to get you back to printing.
She also writes at Storyteller Tech and is a travel blogger at Storyteller.Travel. Dena is co-founder of Storyteller Media, a company he started with her husband, Bryan.
